Photograms
Can you divide up this dense explanation so the images are spread out and with the relevant content? You could also include images of a darkroom. Spreading out your images will make it easier to explain.
The process of photograms
A photogram is a photographic print made by layering objects onto a photographic print and exposing the print to light; the objects block out the light to create a pattern or picture. This process was invited 1843 but gained popularity in carious avant grade contexts in the 1920's. The process was later refined by Man Ray who created 'rayographs'.
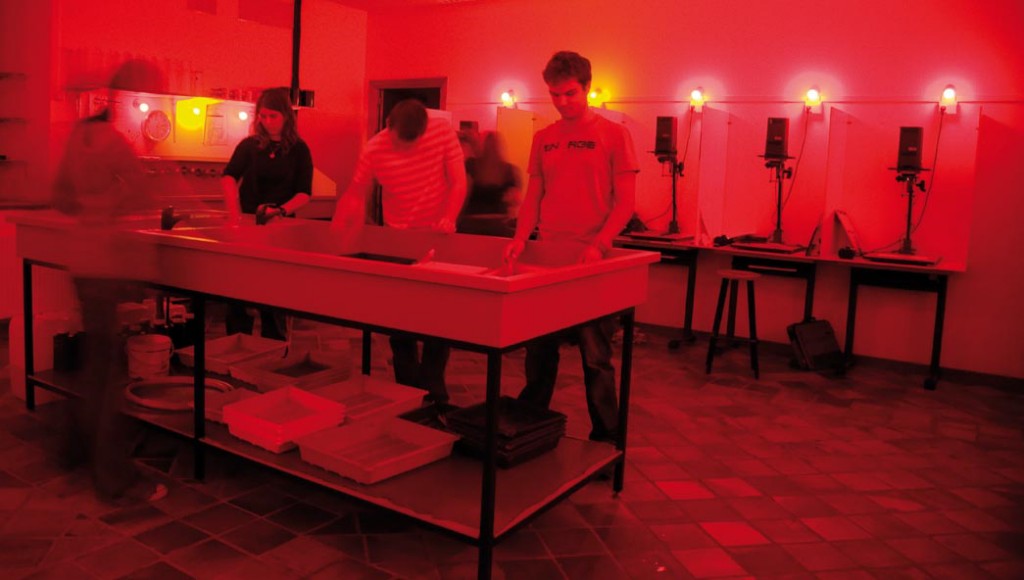
This process is done in a darkroom which is a dark room with a safe light (red light) which is used to develop photographic film. After you have exposed your image to light by using the enlarger you put the print in the developer for 2 mins. After that you put it in the stop for 30 seconds then to the fix for another two minutes and then finally wash it in clean water. You test the fix by putting a piece of undeveloped film you then double the time it takes to clear to figure out how long to leave your print in the fix for.
A photogram is a photographic print made by layering objects onto a photographic print and exposing the print to light; the objects block out the light to create a pattern or picture. This process was invited 1843 but gained popularity in carious avant grade contexts in the 1920's. The process was later refined by Man Ray who created 'rayographs'.
This process is done in a darkroom which is a dark room with a safe light (red light) which is used to develop photographic film. After you have exposed your image to light by using the enlarger you put the print in the developer for 2 mins. After that you put it in the stop for 30 seconds then to the fix for another two minutes and then finally wash it in clean water. You test the fix by putting a piece of undeveloped film you then double the time it takes to clear to figure out how long to leave your print in the fix for.
To ensure that you have the correct exposure you can do this by finding the correct amount of light that the photographic paper is exposed to.
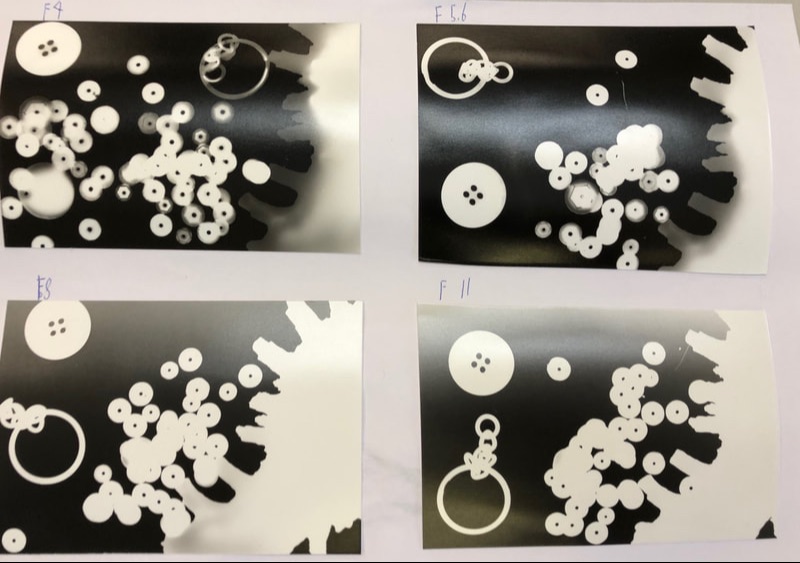
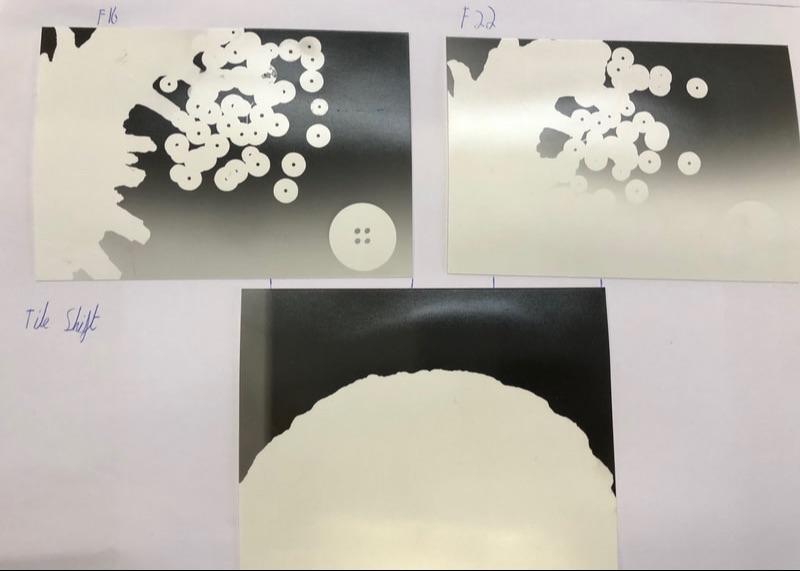
We did this by doing a test strip where you would test the same aperture at different times to ensure that the photogram had the correct exposure. I held a dark piece of card above the photographic paper to exposure the photographic paper to different amounts of light.The longer the image was exposed to light the darker the image is. It is best to start from a high aperture (F16-22) and then work your way down the different apertures depending on the subject.
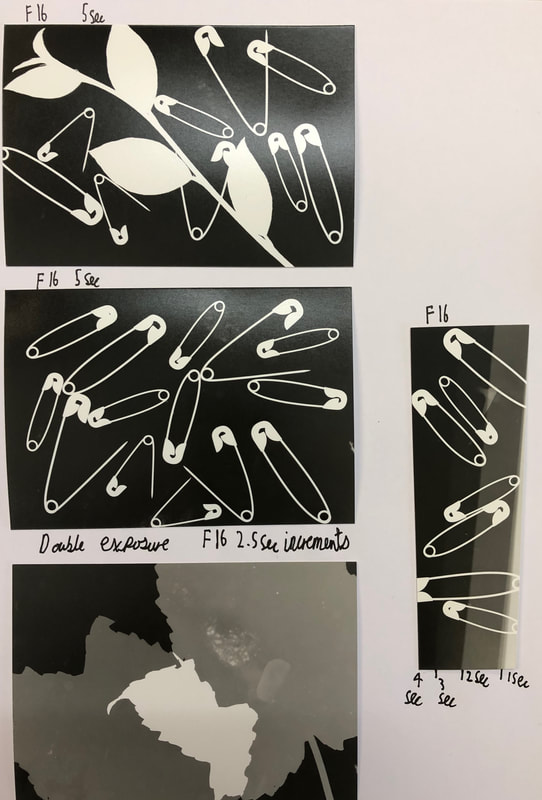
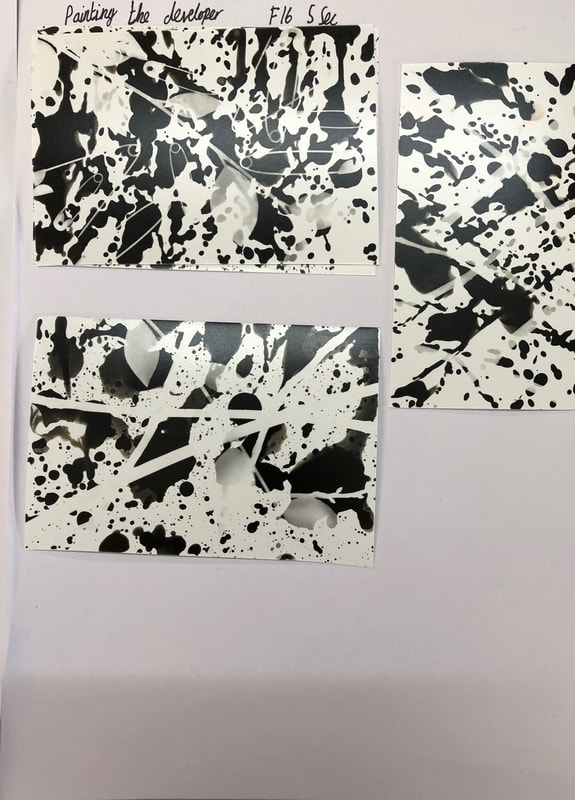
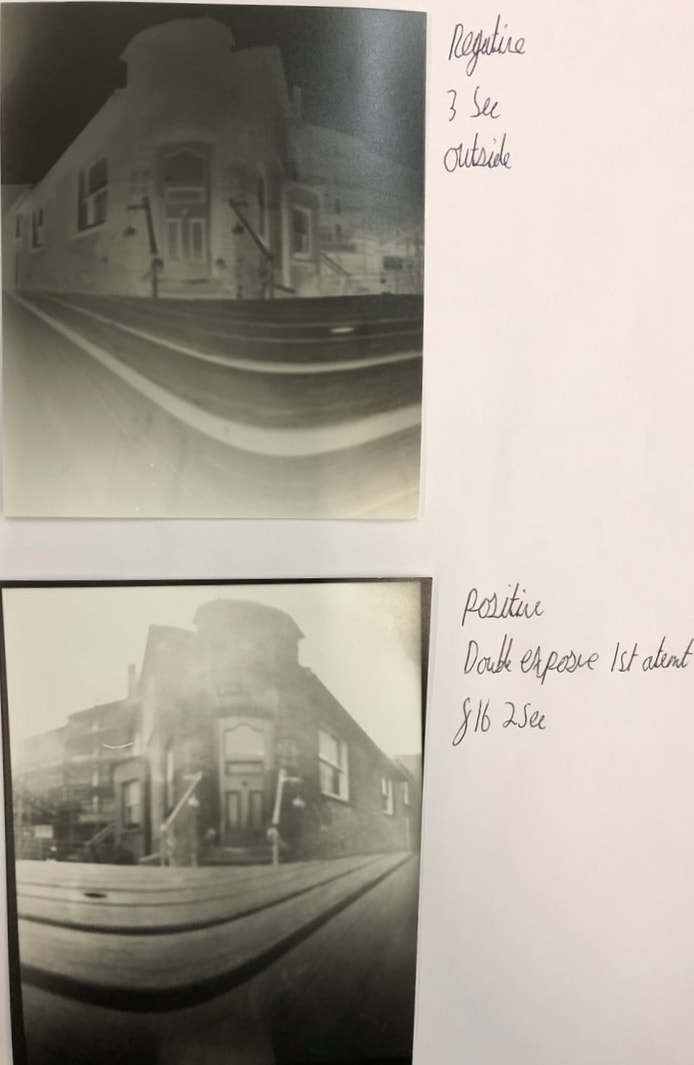
There are many different processes to develop the image. One is paining on the developer which is where you get the exposed paper and paint it with developer in selective parts of the image and then continue with the darkroom process. Double exposure is where you have a subject and you move it half way during the process. You need to make sure that there is an overlap on the original position of the subject and the new position of the subject. An sandwich print is where you put one original image on top of an undeveloped piece of photogram paper and then placing a piece of glass over the prints. After exposing the image in the enlarger you would then develop the photo and the colours of the photogram would be inverted. Another is stencil photograms which is where one would cut a stencil out of black contraction paper and then lay this on the photogram paper. Another process is called soloarization which is where the image that has been recorded has been wholly or partially reversed in tone. You expose the print as normal and then immerse the exposed print into the developer as normal for the set amount of time (until the white establishes itself) then expose to light for 1-2 seconds and then continue with the process. After You have finished developing the print you can choose a post production process. This is where after your print has dried you could paint over the image in water- colour, or you could stitch into the image, This Is what I attempted but unfortunately was unable to do.
We did this by doing a test strip where you would test the same aperture at different times to ensure that the photogram had the correct exposure. I held a dark piece of card above the photographic paper to exposure the photographic paper to different amounts of light.The longer the image was exposed to light the darker the image is. It is best to start from a high aperture (F16-22) and then work your way down the different apertures depending on the subject.
There are many different processes to develop the image. One is paining on the developer which is where you get the exposed paper and paint it with developer in selective parts of the image and then continue with the darkroom process. Double exposure is where you have a subject and you move it half way during the process. You need to make sure that there is an overlap on the original position of the subject and the new position of the subject. An sandwich print is where you put one original image on top of an undeveloped piece of photogram paper and then placing a piece of glass over the prints. After exposing the image in the enlarger you would then develop the photo and the colours of the photogram would be inverted. Another is stencil photograms which is where one would cut a stencil out of black contraction paper and then lay this on the photogram paper. Another process is called soloarization which is where the image that has been recorded has been wholly or partially reversed in tone. You expose the print as normal and then immerse the exposed print into the developer as normal for the set amount of time (until the white establishes itself) then expose to light for 1-2 seconds and then continue with the process. After You have finished developing the print you can choose a post production process. This is where after your print has dried you could paint over the image in water- colour, or you could stitch into the image, This Is what I attempted but unfortunately was unable to do.

|
|
Pinhole Camera
What is a pinhole camera
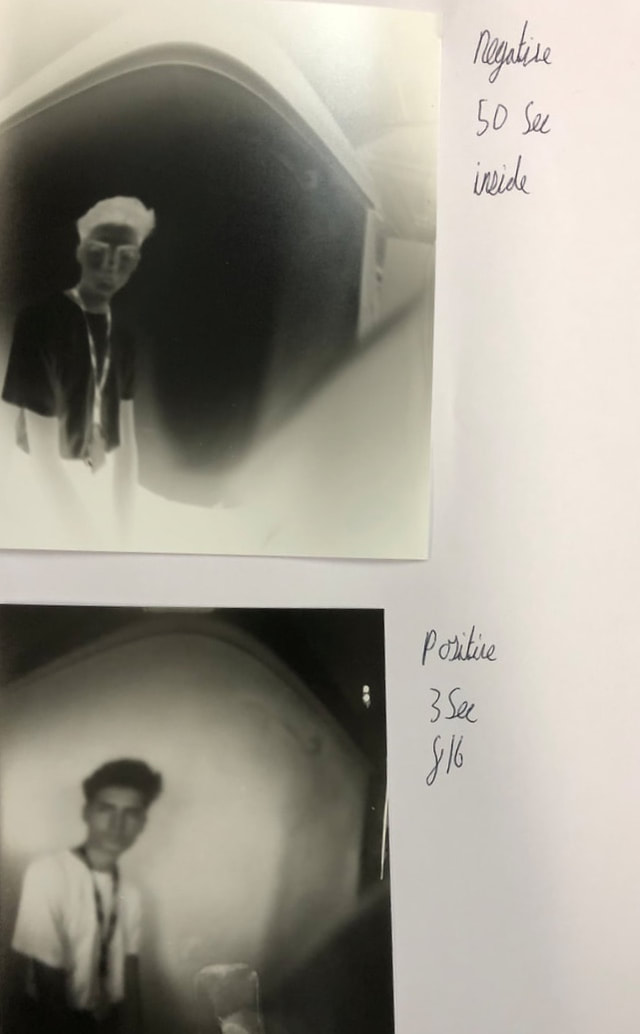
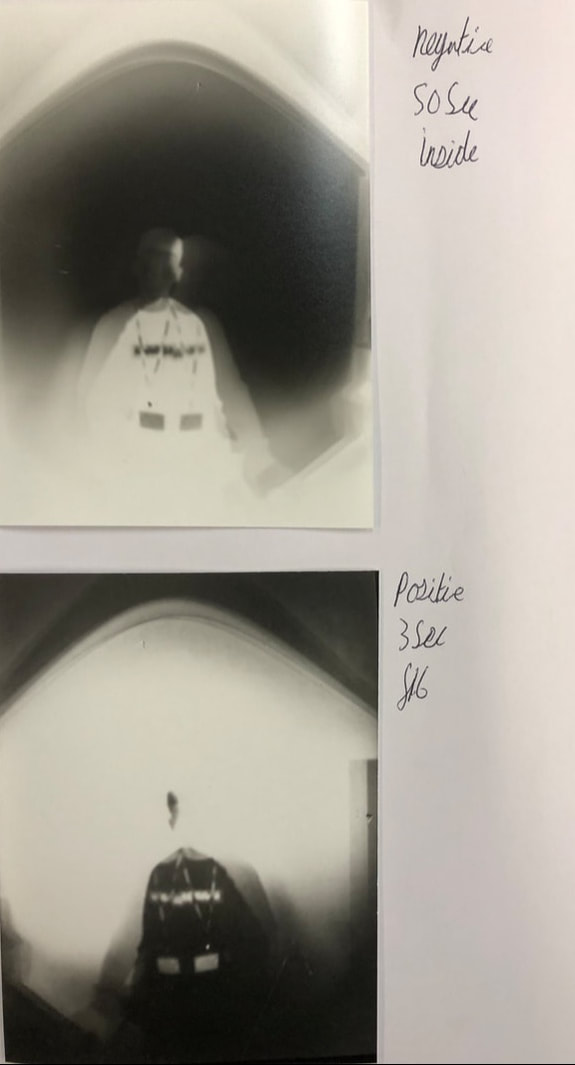
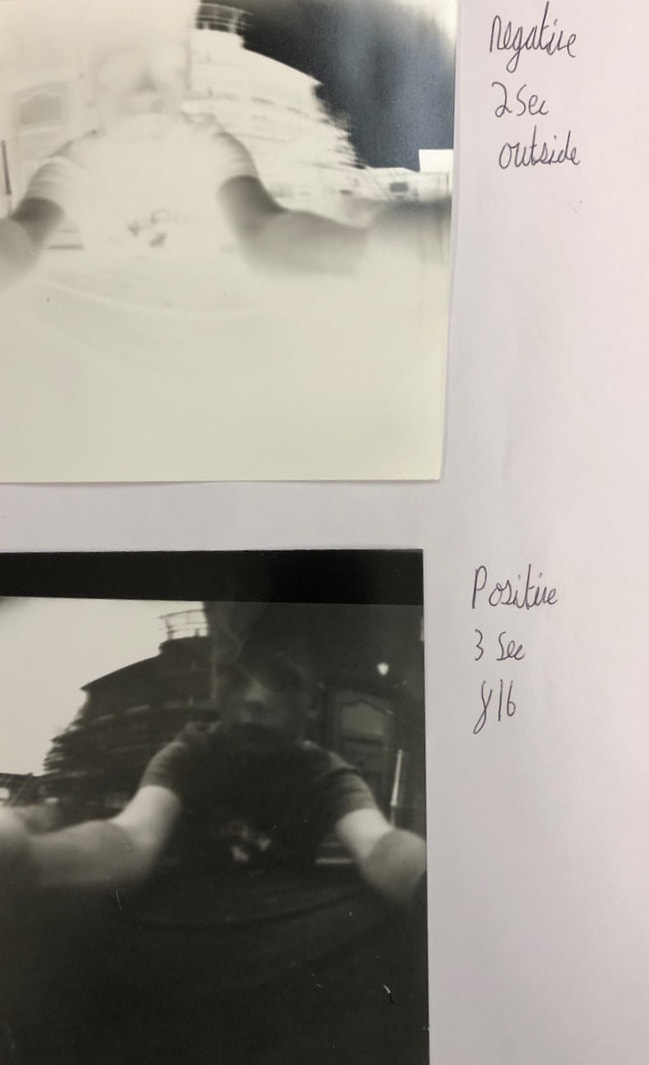
A pinhole camera is a simple camera without a lens but with a tiny aperture. It is a light proof box with a small hole in one side. Light from a scene passes through the aperture and projects an inverted image on the opposite side of the box. When you look at the wall opposite the pinhole, was you will see is an inverted and reversed image of the scene outside. Each point in the scene emits light and passes through the pinhole and creates a point of light on the back wall.
A pinhole camera is a simple camera without a lens but with a tiny aperture. It is a light proof box with a small hole in one side. Light from a scene passes through the aperture and projects an inverted image on the opposite side of the box. When you look at the wall opposite the pinhole, was you will see is an inverted and reversed image of the scene outside. Each point in the scene emits light and passes through the pinhole and creates a point of light on the back wall.
How did we make our camera
(insert photo of camera here)
- measure out a piece of card and cut out the strips into the top. Also measure out a circle the size of the can lid
- Using a can opener take off the lid off the beer can
- wrap the card around the beer can
place the circle on top and then tape the lid with gaffer tape
- make a small hole in the front of the can
- cover the hole with electrical tape
How to make a positive image
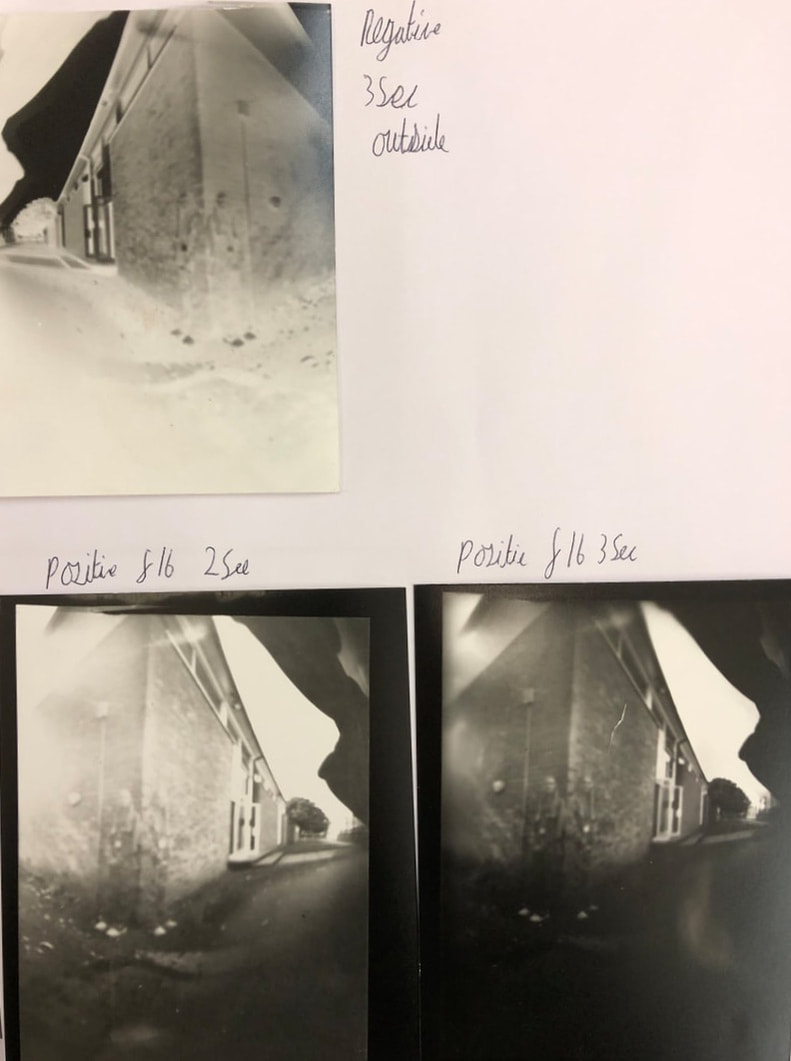
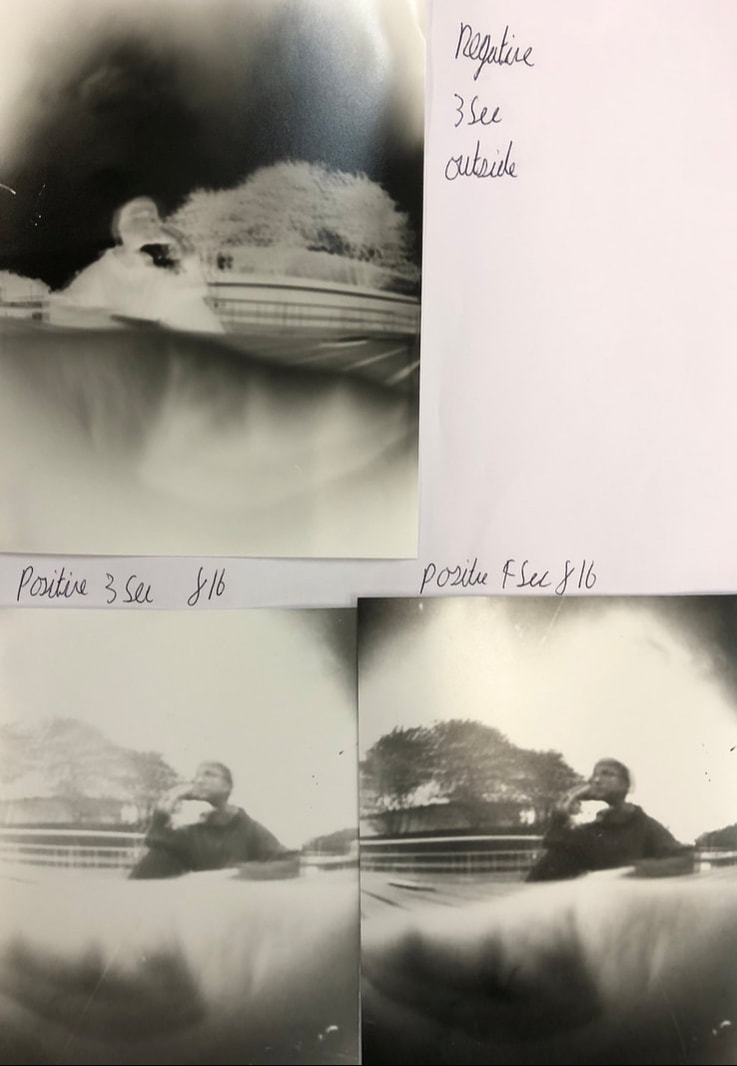
To make a positive image you should put an undeveloped piece of photographic paper under the enlarger. After this you then lay the negative on top of the image and then lay a clean piece of glass to ensure that the negative is laid flat. You then expose on F16 for around 3 seconds but it depends on the image.
To make a positive image you should put an undeveloped piece of photographic paper under the enlarger. After this you then lay the negative on top of the image and then lay a clean piece of glass to ensure that the negative is laid flat. You then expose on F16 for around 3 seconds but it depends on the image.
|
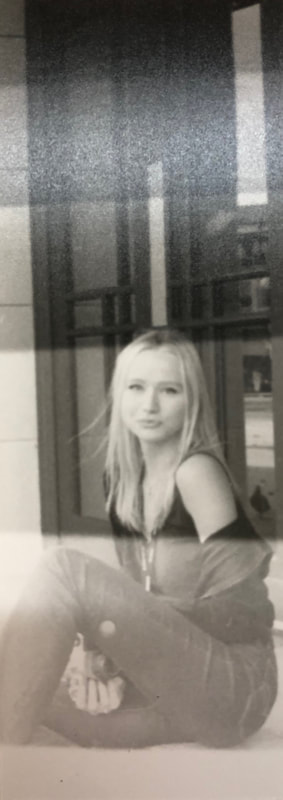
Studio Portrait
Double exposure 1st attempt
Self Portrait
Double exposure 2nd attempt
|
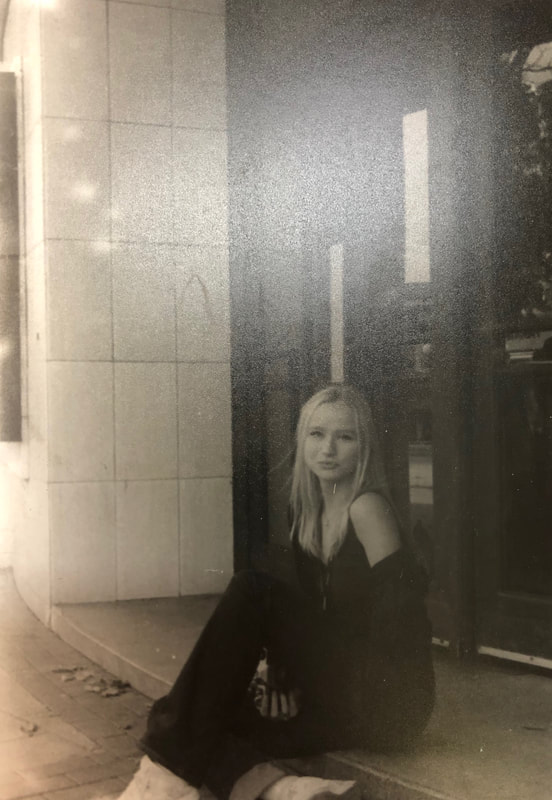
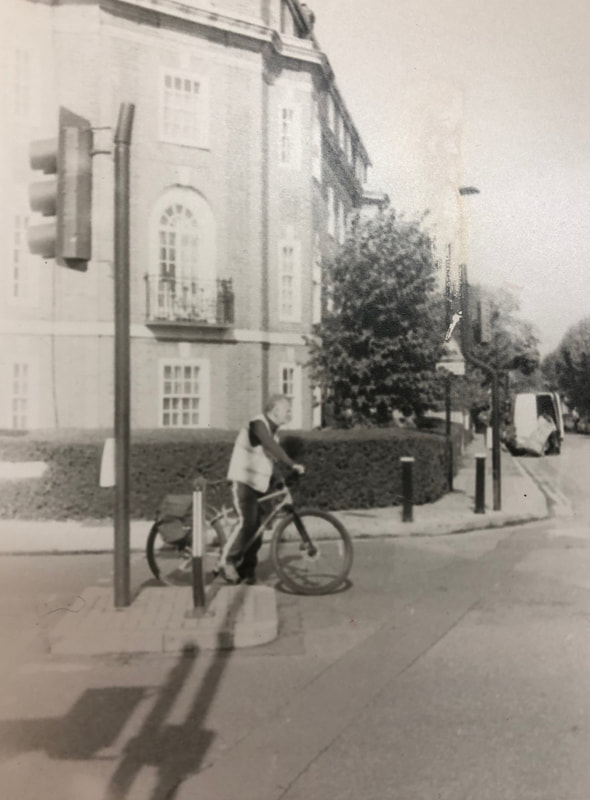
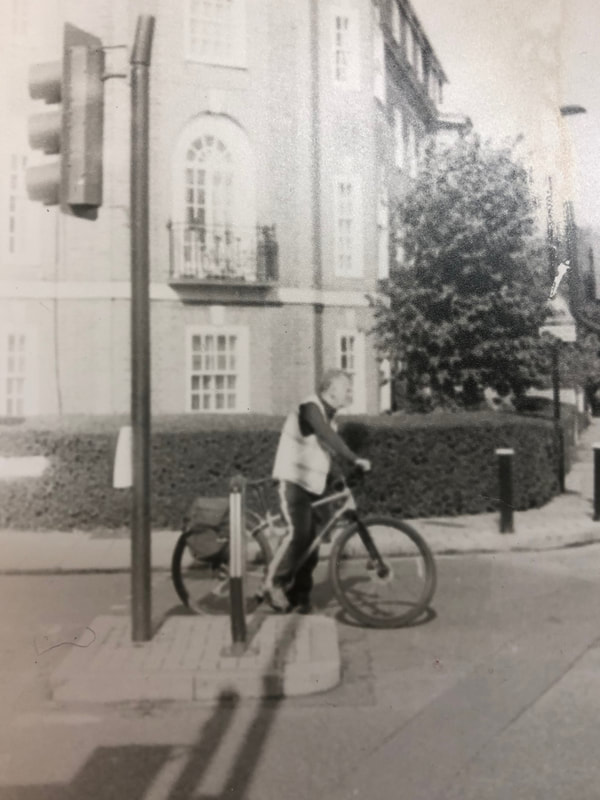
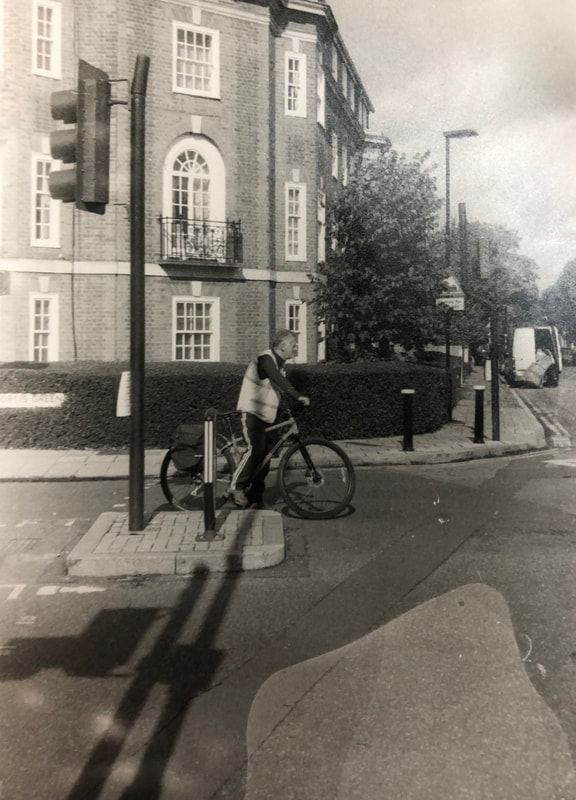
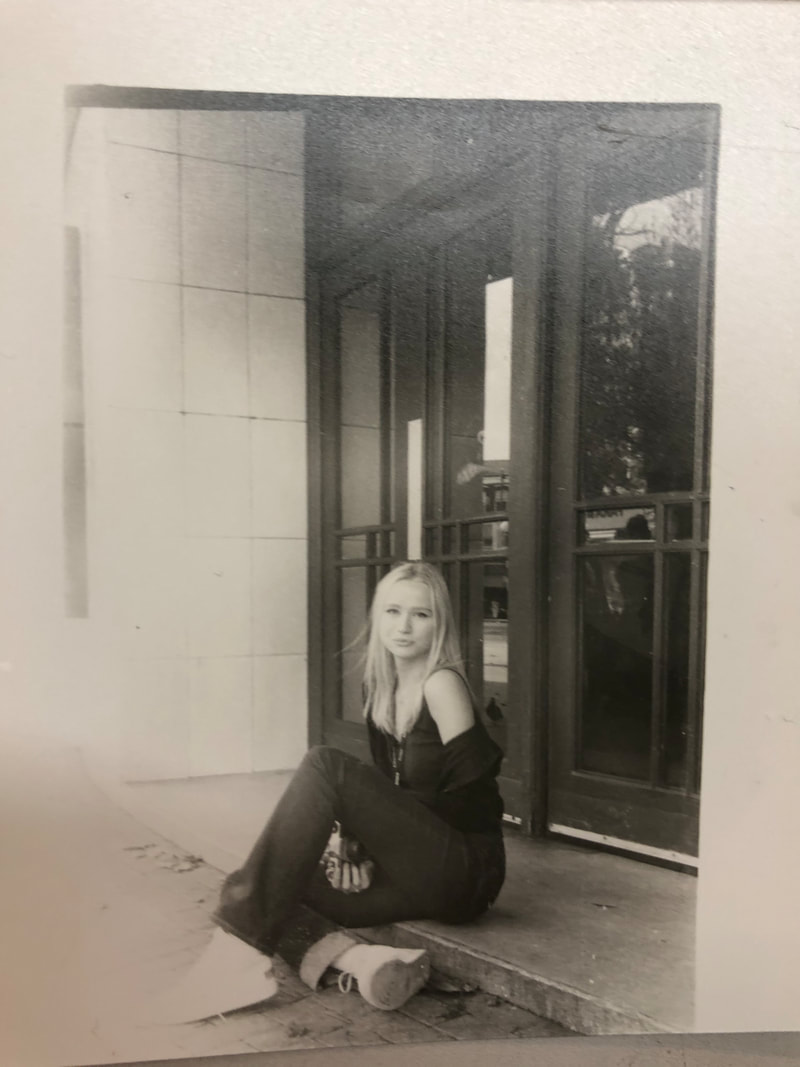
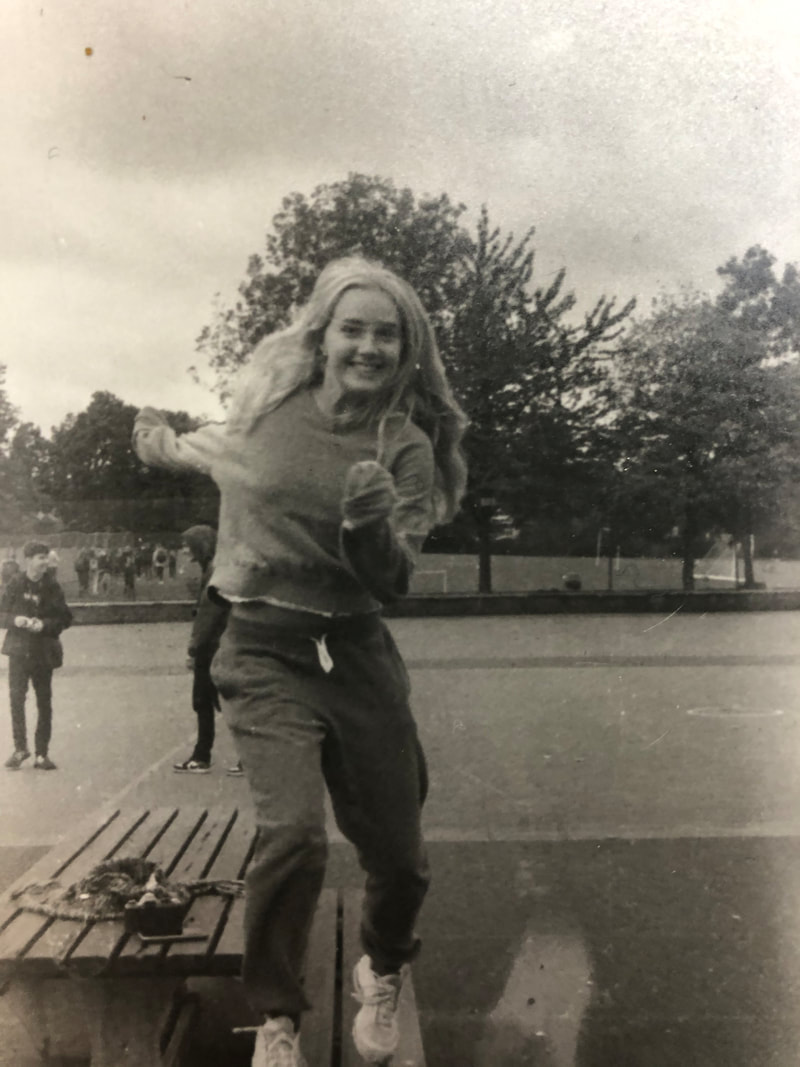
Outside Portrait
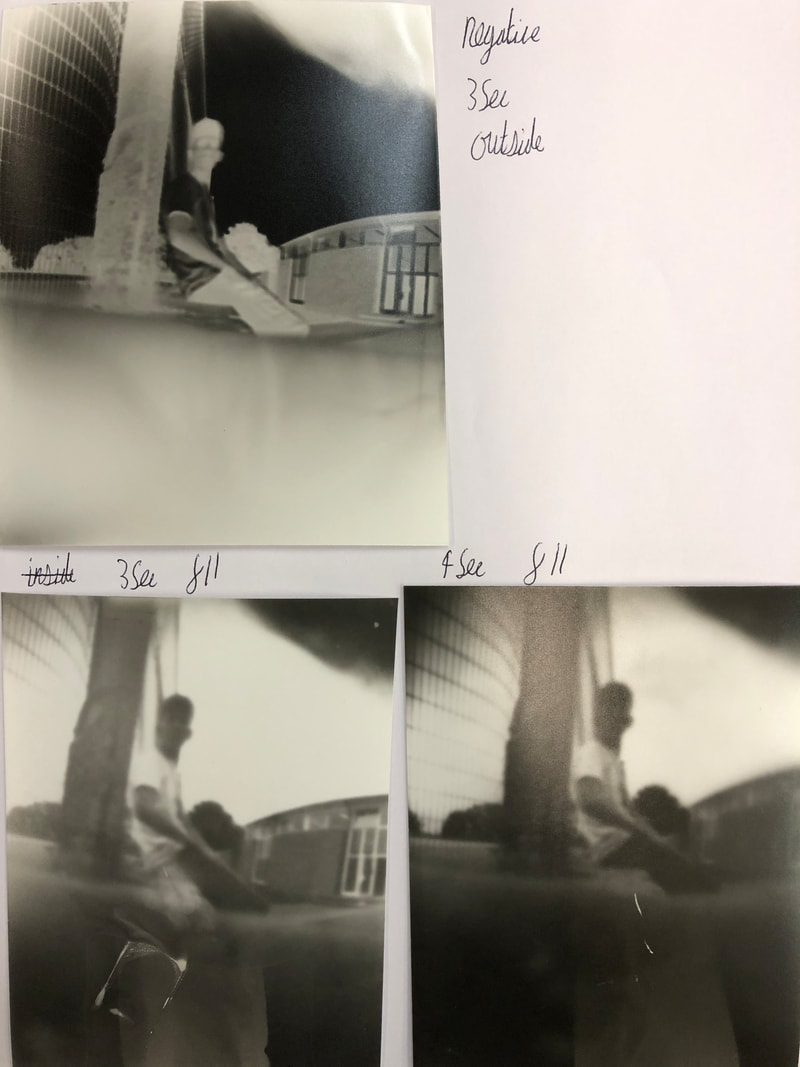
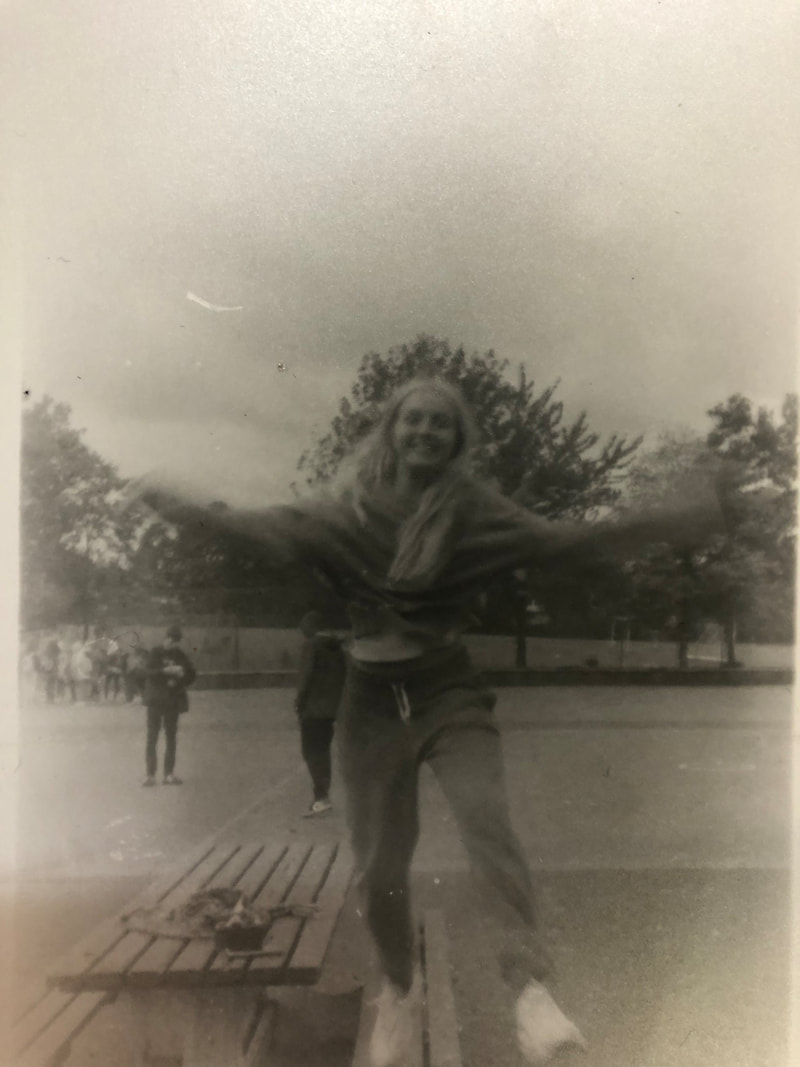
Outside Portrait second attempt
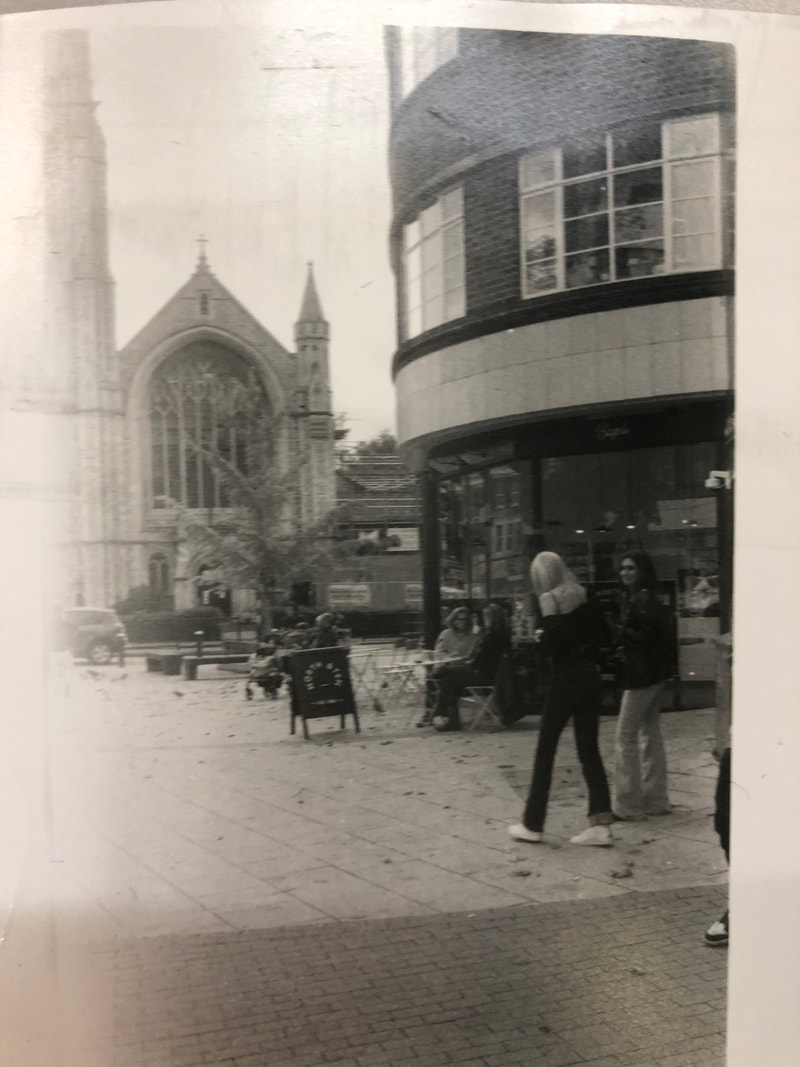
Building
|
I would suggest that you edit you images so we don't see the paper they are stuck to = it looks a little messy and detracts for the great images you have.
Film Photography
SLR photography
SLR stands for Single- lens reflex camera which is a camera which typically uses a mirror and prism system that allows the photographer to view the lens with exactly what needs to be photographed. In most film cameras the SLR's, the mirror flips out of the light to pass through to the light receptor and the image to be captured. The film camera was first invented in 1861 bay Thomas Sutton. The first cameras where produced in 1884 but they where very complex in practise. Over time these complexities became easier and by 1960's the SLR became the preferred design for many high- end camera formats.
SLR stands for Single- lens reflex camera which is a camera which typically uses a mirror and prism system that allows the photographer to view the lens with exactly what needs to be photographed. In most film cameras the SLR's, the mirror flips out of the light to pass through to the light receptor and the image to be captured. The film camera was first invented in 1861 bay Thomas Sutton. The first cameras where produced in 1884 but they where very complex in practise. Over time these complexities became easier and by 1960's the SLR became the preferred design for many high- end camera formats.
How to develop the film
To develop film you need a:
black and white developer, fixer and stop bath
a developing tank and reels (where the developing takes place after the film is loaded into the reel)
a timer
a bottle opener
film clips and a drier
a water supply
To develop film you need a:
black and white developer, fixer and stop bath
a developing tank and reels (where the developing takes place after the film is loaded into the reel)
a timer
a bottle opener
film clips and a drier
a water supply
In the dark room- the process of developing the film
To start the process of developing the film first you have to develop the film in the darkroom.
Open film cassette
You cannot open the film until you are until complete darkness as exposing your film to any light can destroy the negative. To open the film cassette, hook the edge of the lid under the cassette opener, then bend it to the side until the lid pops off
Cut the film with scissors
The the film out of the cassette and cut the end off with scissors. To unroll the film until you reach the small plastic cassette in the centre, then cut through the film where it connects with the piece of tape that secures the film to the plastic.
Load film onto real
To load the film onto there, you try and find the slit on the edge of the reel by finding the slit on the edge of the reel and slide the film into it. Once secure you twist the side of the reel back and forth to wind the rest of the film. It will be finished when you know the film is securely wrapped around the reel.
Place reel in the film tank
Locate the film tank's so that the core is sticking up in the centre. you need to ensure that the lid is secure and that no light can get in.
Create the developer mixture
When the film is safe in the film tank, you need to prepare the developer mixture and is used to develop film negatives in the tank, and while the exact amount will vary depending on the size of the film for me it was a ratio of 1:19 for the developer
Pour mixture into the film tank
On the film tank there is a lid at the top, One should unscrew this lid but not the one that is housing the film and selling the tank shut.. You then four the mixture in the funnel- shaped hole. Once this mixture of poured in then set a timer for the designated time for the developer, for me it was 8 minutes. When this is done one should agitate the mixture every minute and then tap the bottom of the film to remove any air bubbles. you then do the same With the stop bath (30 seconds) and then the fix (5 minutes)
Rinse and sock film
After this process has finished then the film is safe to remove from the tank. Then rinse the film with cold water for a few minutes to ensure that there are no leftover chemicals
Hang the film to dry
After this has finished you should take the film out of the reel and leave to dry in an heater. This is an instrument that looks like a locker and that dries film
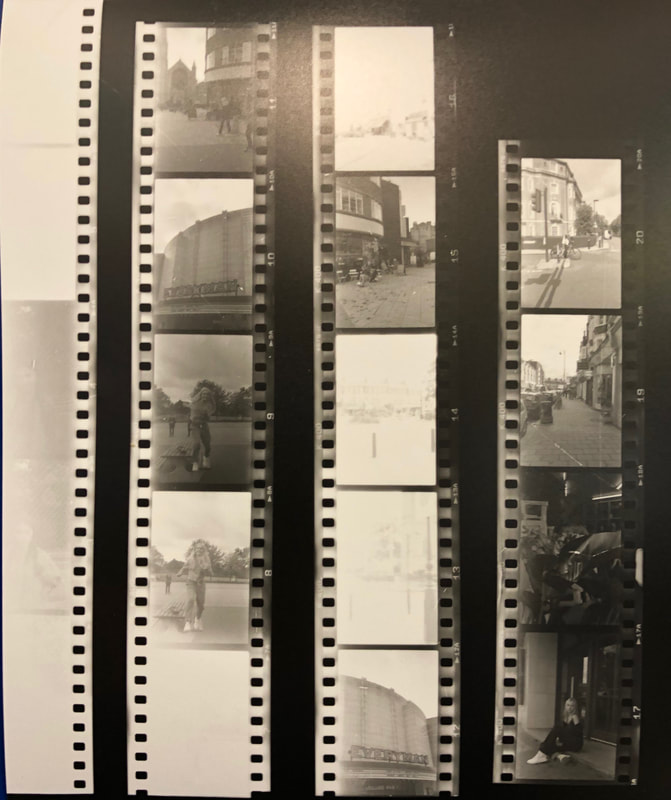
The photos that where taken and the process what I did
To print the photographs I used the enlarger. I took the film carrier
To print the photographs I used the enlarger. I took the film carrier
|

|
|
|
|
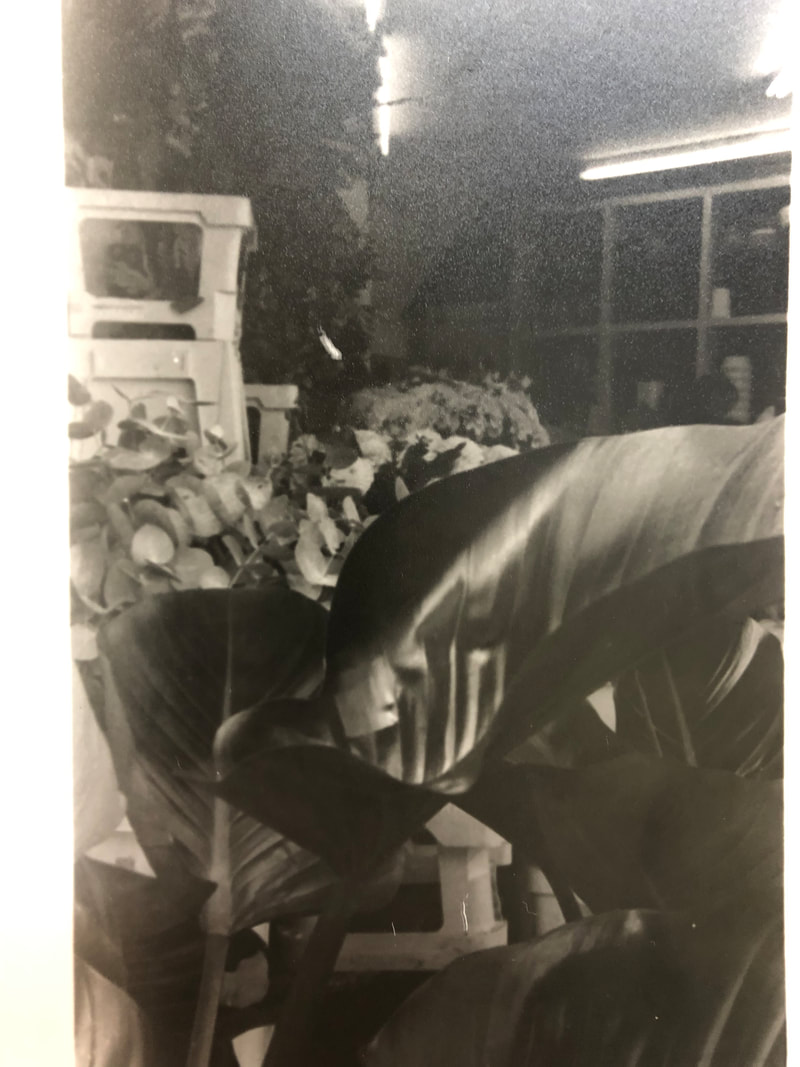
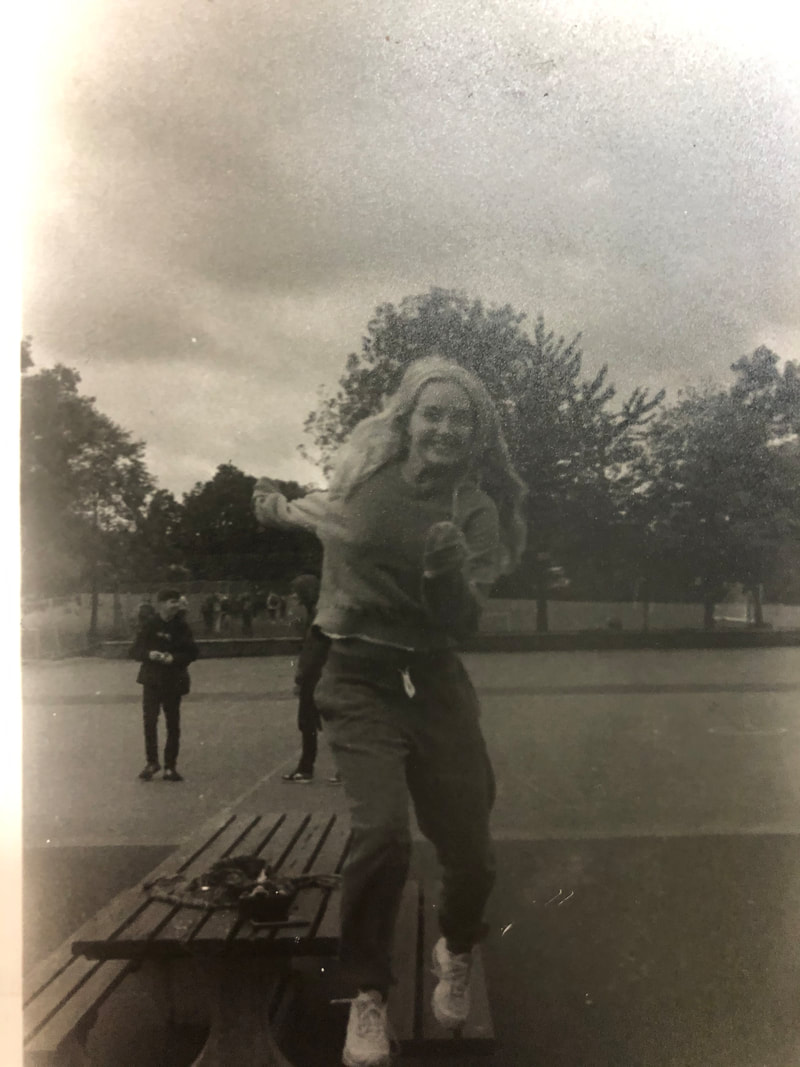
WWW- For a first attempt I think that the quality of the images where good. After understanding how to make my print they where all in focus
EBI- To make sure that all of my images where not over exposed To better understand how to judge the light when developing my prints and |
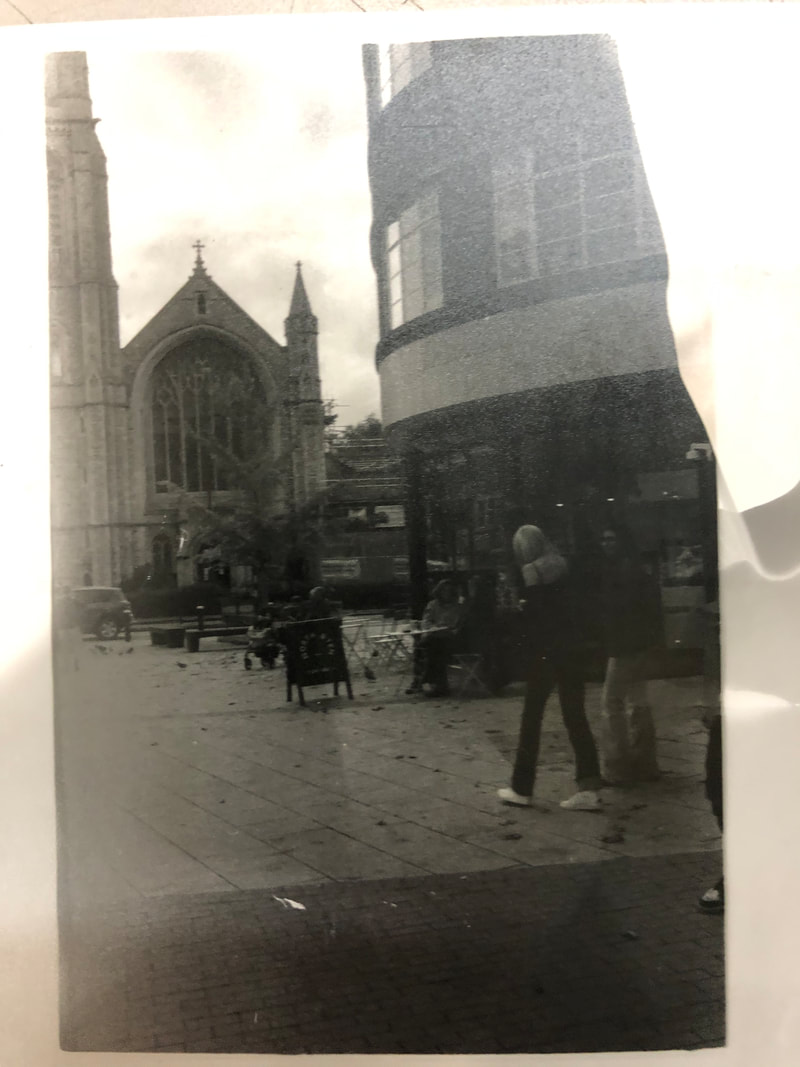
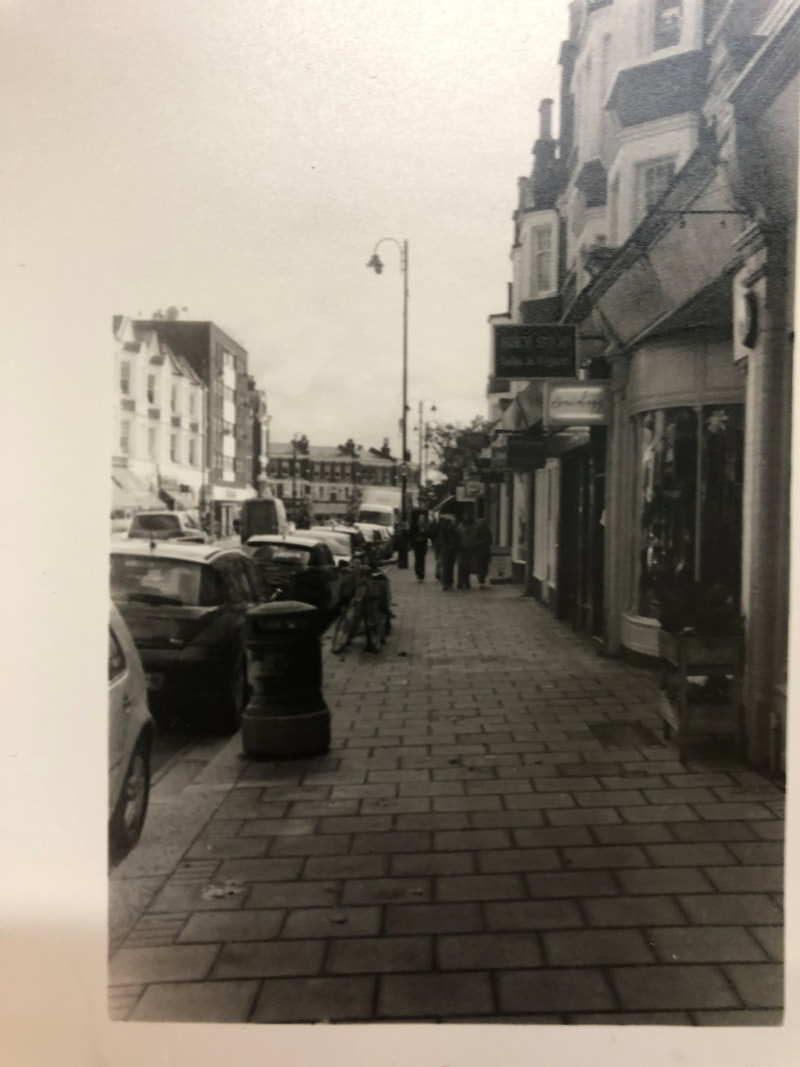
This was the second time printing the photos. This time I used the filters to increase and decrease the contrasts of the photos. They are numbered one to five with one producing the least amount of contrast. Using these doesn't affect the exposure time by mixing yellow and magenta light, you are able to keep the density of the filter consistent. So jumping from one to another won't affect the exposure time
|
|
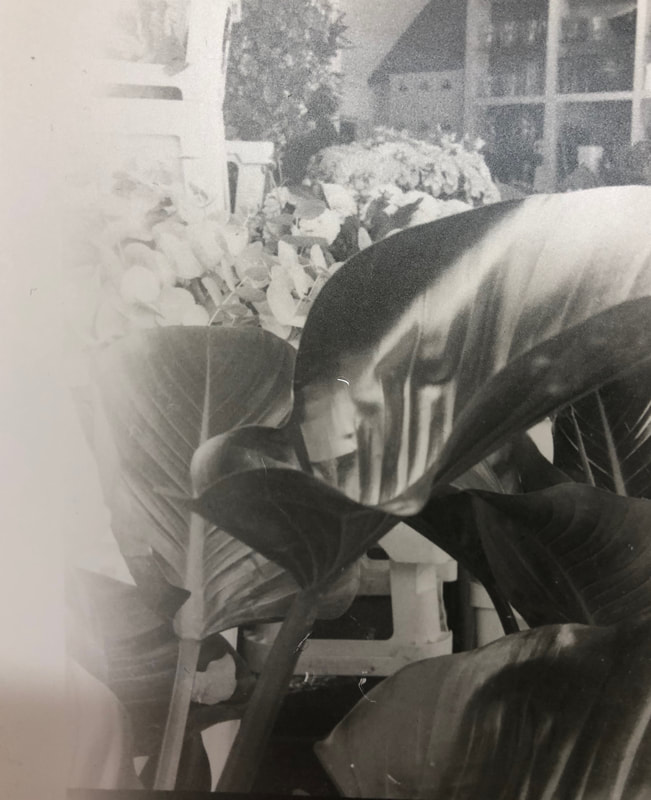
The intention behind the images
For the images above I wanted to understand what settings to use for the different types of light. I also wanted to better understand shutter speed and what that does to an image. I still have some learning to do about the different settings and the printing process. the use of filters helped my images look less grainy and more realistic.
For the images above I wanted to understand what settings to use for the different types of light. I also wanted to better understand shutter speed and what that does to an image. I still have some learning to do about the different settings and the printing process. the use of filters helped my images look less grainy and more realistic.
